

About Projects
Overview
Projects is a module in gaiia that helps teams track and manage complex service delivery and maintenance work from start to finish. Projects can be standardized using Project Types, which define default details, a structured form, and a predefined list of tickets that are automatically created with the project.
A project type can also group its tickets into ordered steps, so projects of that type move through their work one step at a time.
Projects are available from the main navigation and from the Projects tab on Accounts, Business Accounts, Properties, and Network Sites. This article covers the permissions required to use Projects, how to set up Project Types and statuses, and how to create and manage projects.
To start using Projects, please reach out to your account manager or support@gaiia.com.
Permissions
Access to Projects is controlled by the following permissions.
Action | Required permission |
|---|---|
Viewing projects |
|
Creating and editing projects |
|
Adding and editing comments |
|
Uploading and managing documents |
|
Managing project types |
|
Managing project statuses |
|
Setting up Projects
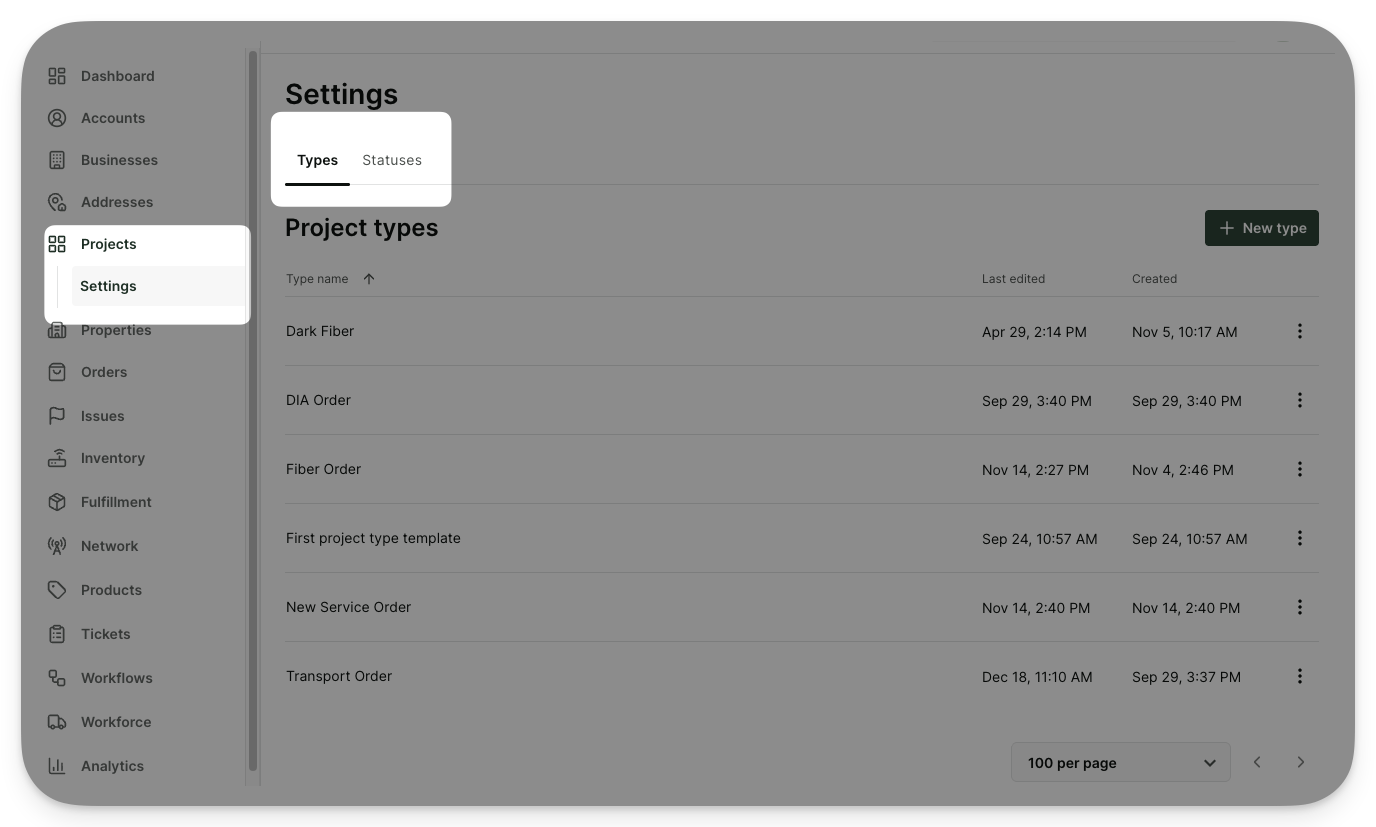
Before your team starts using Projects, an admin should configure Project Settings, accessible from the Projects sub-menu. Project Settings has two tabs: Types and Statuses.
A. Creating Project Types
A Project Type is a template that standardizes how projects are created. It can include default details, a form, and a predefined list of tickets.
To create a Project Type:
Navigate to Project Settings, then open the Types tab
Click on the
New TypebuttonIn the General Information step, enter a Project Type Name
You can also set optional defaults: a Default Description that pre-fills the project description, Default Assignees automatically assigned to new projects, a Default Start Date (check Start on Creation Date to set it to the day the project is created), and a Target Date defined as a duration (e.g., "After 14 days") calculated from the default start date.
In the Form step, build a form to collect structured information for every project of this type (see section B below)
In the Tickets step, add a predefined list of tickets that will be automatically created with each project of this type (see section C below)
In the Review step, confirm the details and click on the
Createbutton
Once created, the project type appears in the Types list and can be edited, duplicated, or used when creating new projects.
B. Building a Project Type form
Within the Form step, you can define the structured information to collect for every project of this type.

To build a form:
Click on the
New Sectionbutton and give the section a nameWithin the section, click on the
Add FieldbuttonEnter a Field Name and select an Input Type: "Short text", "Long text", "Number", or "Dropdown" (dropdowns require adding options)
Click on the
Addbutton to add the field to the sectionRepeat for all sections and fields
Field names must be unique within a section. Fields and sections can be reordered by dragging and dropping them.
C. Adding predefined tickets to a Project Type
Within the Tickets step, you can define a list of tickets that are automatically created every time a project of this type is created.
Adding predefined tickets requires the Tickets > Edit permission.

To add a predefined ticket:
Click on the
Add TicketbuttonFill in the ticket details: Title (required), Type (required), Priority, Description (required), Assignees, Categories, and URL
You can also set a Due Date After Creation — a number and unit (days, weeks, or months) used to automatically calculate the ticket's due date relative to when the project is created.
Click on the
Addbutton to add the ticket to the list
From the ticket list, you can edit or delete any predefined ticket before saving the project type.
You can also group the tickets into ordered steps. Projects of this type then work through their steps in order: only the tickets of the first step are created with the project, and the tickets of each following step are created when the previous step is completed.
To group the tickets into steps:
In the Tickets step, turn on the option to organize the tickets into steps. Every ticket is placed in Step 1.
Add a step for each stage of the work. Steps are named by their position: Step 1, Step 2, and so on.
Drag each ticket into its step, and drag the steps to put them in order.
In the Review step, check the tickets listed under each step.
Every step needs at least one ticket. If you turn the steps off, all the tickets go back into a single list. Changes to a project type's steps only apply to projects created afterwards.
D. Editing Project Types
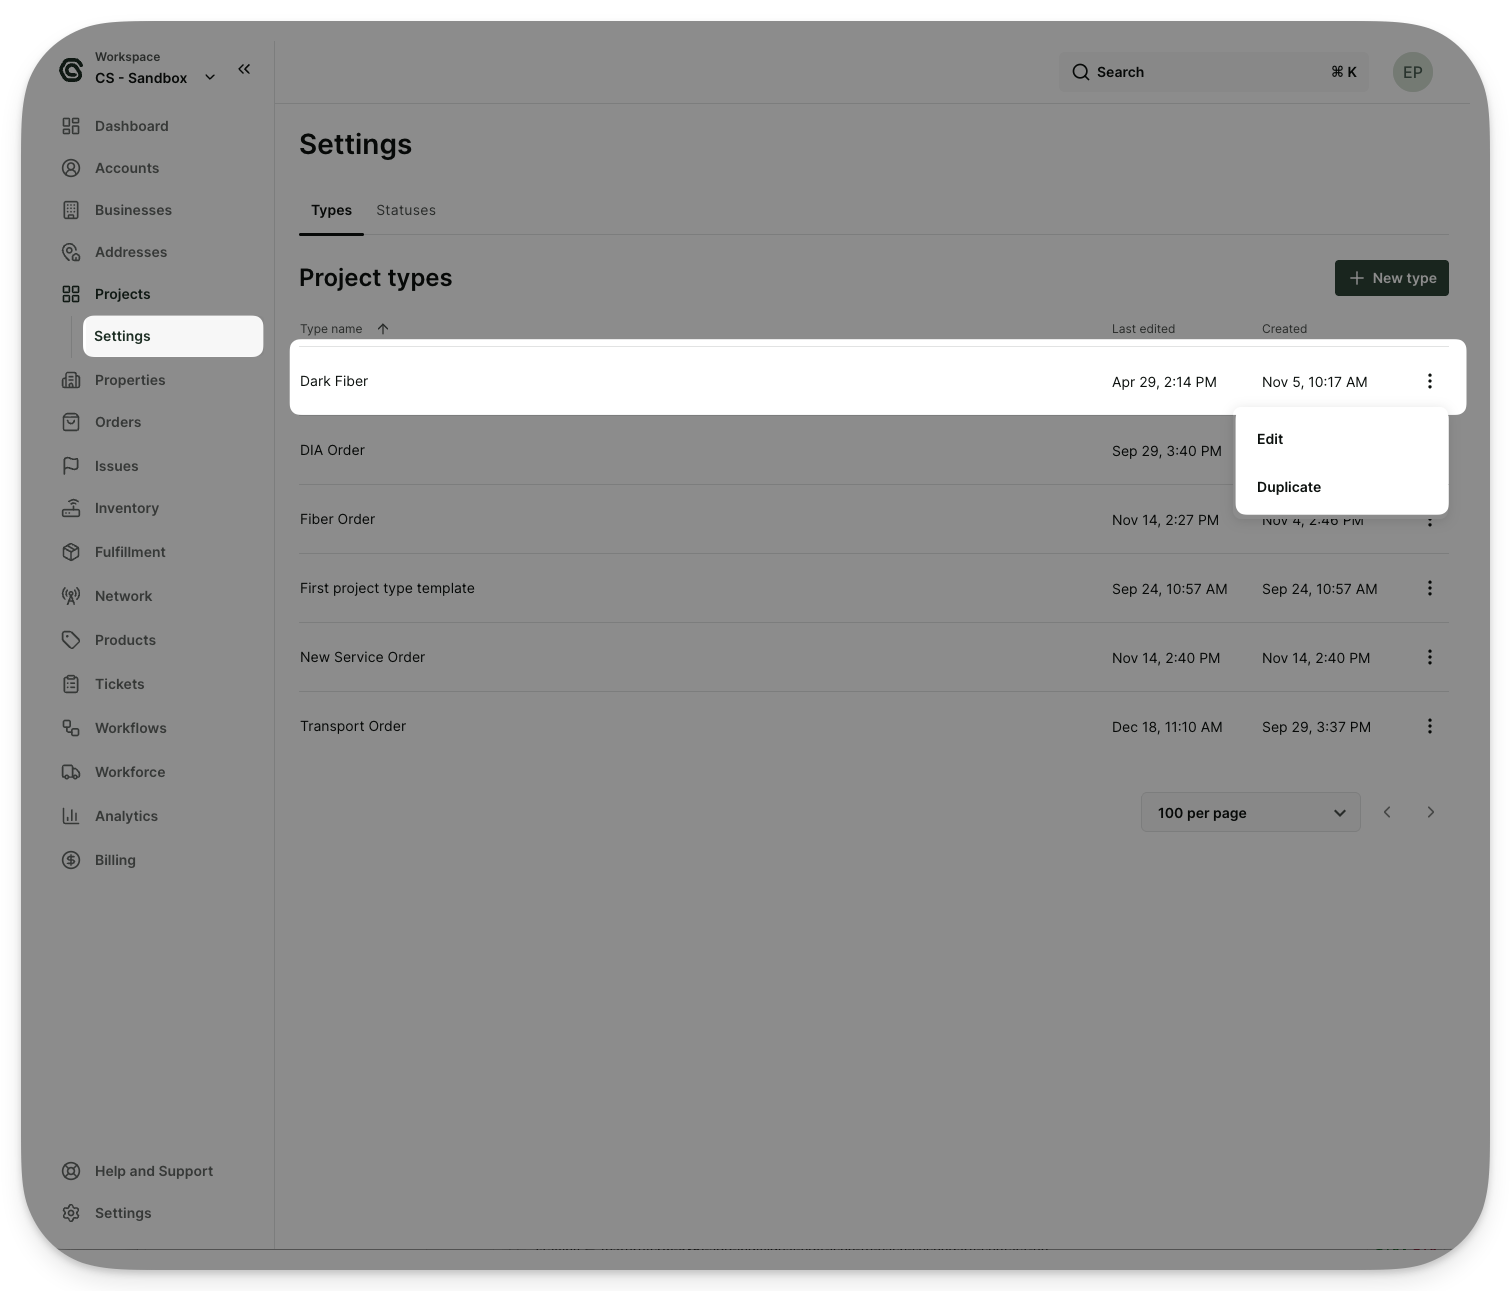
To edit an existing Project Type:
Navigate to Project Settings, then open the Types tab
Click on the type you want to edit
Update the name, default details, form, or ticket list
Save your changes
You can also duplicate a project type to use it as a starting point for a new one.
E. Managing project statuses
Projects come with three default statuses: "Unstarted", "Started", and "Closed". You can add custom statuses to match your team's workflow.
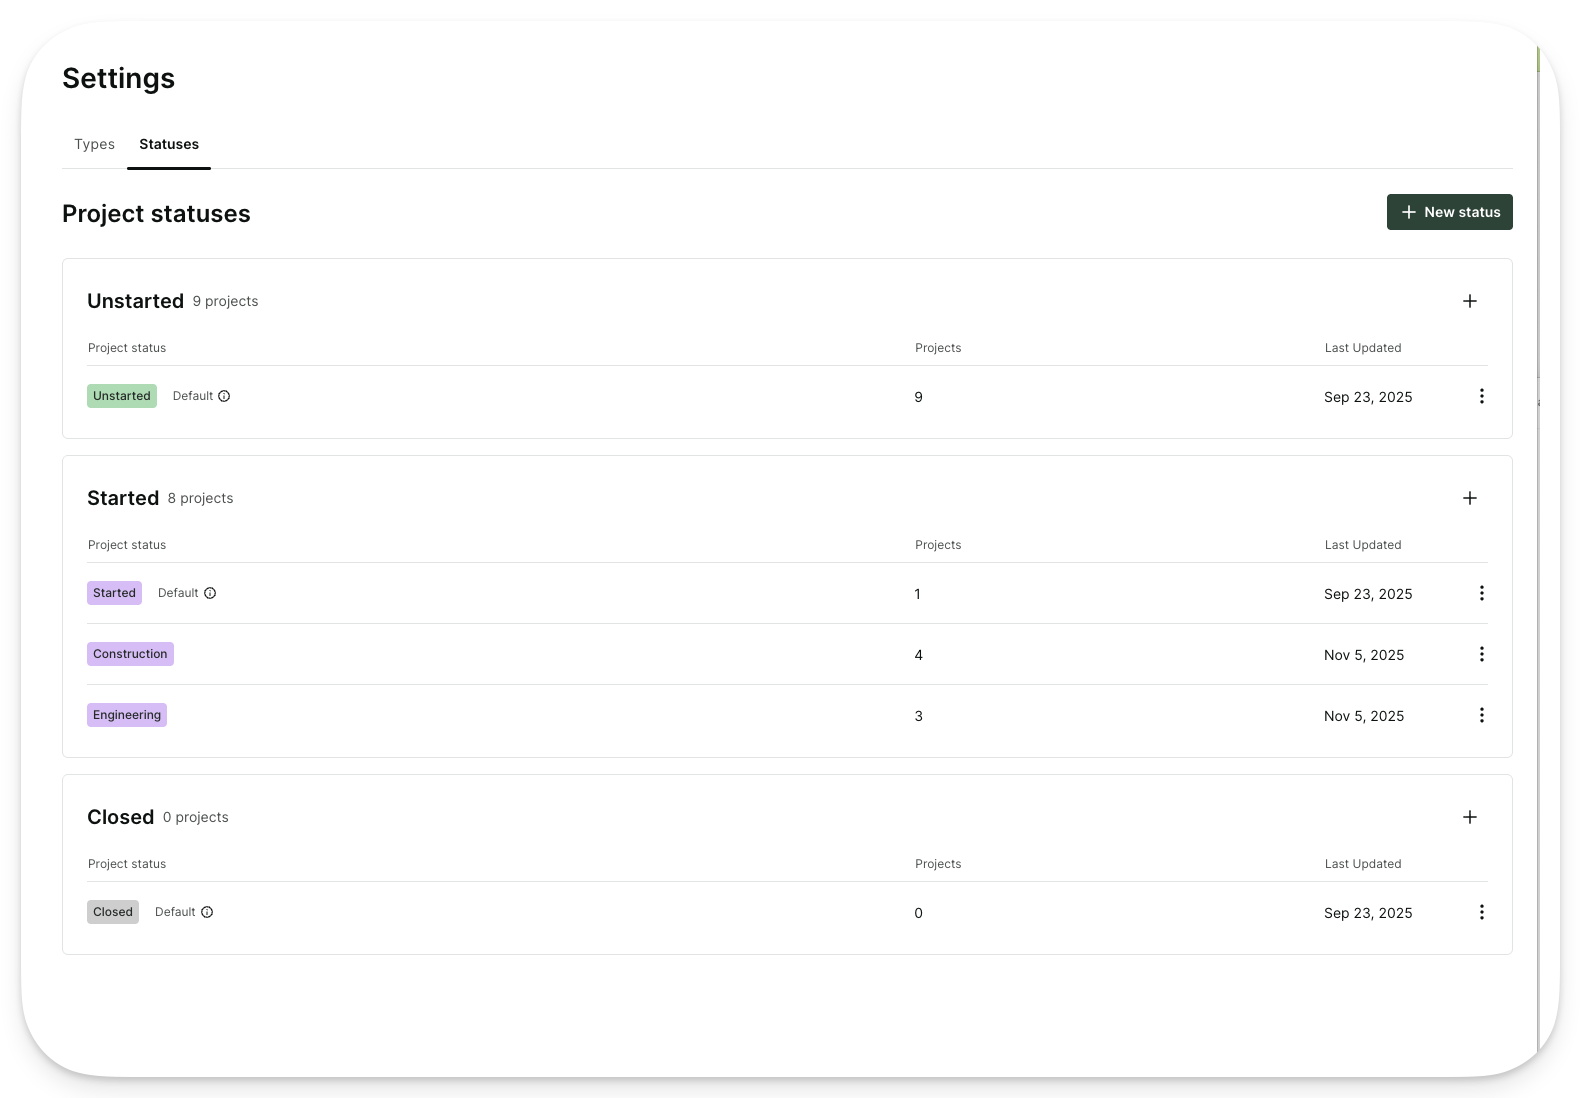
To create a custom status:
Navigate to Project Settings, then open the Statuses tab
Click on the
New StatusbuttonEnter a name and select a parent category: "Unstarted", "Started", or "Closed"
Save
From this view, you can also rename or delete custom statuses. Default statuses cannot be deleted.
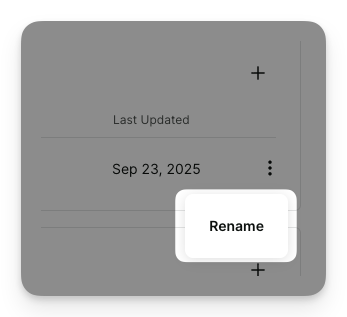
A custom status cannot be deleted if it is currently assigned to one or more projects.
A project's status can also be changed through the gaiia API, with the updateProject mutation and the status's ID in customStatusId. This requires the Projects > Edit permission.
Every status change, whether it is made in gaiia or through the API, sends the project.status_updated event, so a workflow can run when a project changes status. See Using project event triggers.
Creating a project

To create a new project:
Navigate to Projects in the main navigation, or open a linked entity (Account, Business Account, Property, or Network Site) and go to its Projects tab
Click on the
New ProjectbuttonSelect a Project Type if applicable, or click on the
Continue Without a Typebutton
The remaining steps depend on whether a project type is selected:
With a project type
In the General Information step, enter a title, description, start date, target date, linked entity, and assignees
Default values from the project type will be pre-filled.
In the Form step, fill in the type's form fields — these can be updated at any time after creation
In the Review step, confirm the details and click on the
Createbutton
Without a project type
Enter a title, description, dates, linked entity, and assignees
Click on the
Createbutton
Once created, the project appears in the Projects table with a unique Project ID, and any predefined tickets from the project type are automatically created.
If the project type groups its tickets into steps, only the tickets of the first step are created at this point. See Following a project's steps.
Managing a project
From the project page, you can:
Edit the title and description by clicking the pencil icon next to the title.
Update the status by clicking the status field in the side panel.
Set or update dates by clicking Start Date or Target Date in the side panel.
Add or remove assignees from the Assignees section in the side panel.
Link or unlink an entity from the Linked Entity section in the side panel. You can link an Account, Business Account, Property, or Network Site; linking an entity displays its address directly on the project.
Edit additional information — custom fields configured for Projects are displayed in the Additional Information section of the side panel.

Each project also has the following tabs:
Tab | Description |
|---|---|
Activity | A full log of every change made to the project, including status changes, date updates, assignee changes, linked entity updates, form edits, and custom field updates. |
Form | Only visible if the project's type has a form. Displays the structured form fields; users can edit values directly without opening a modal. |
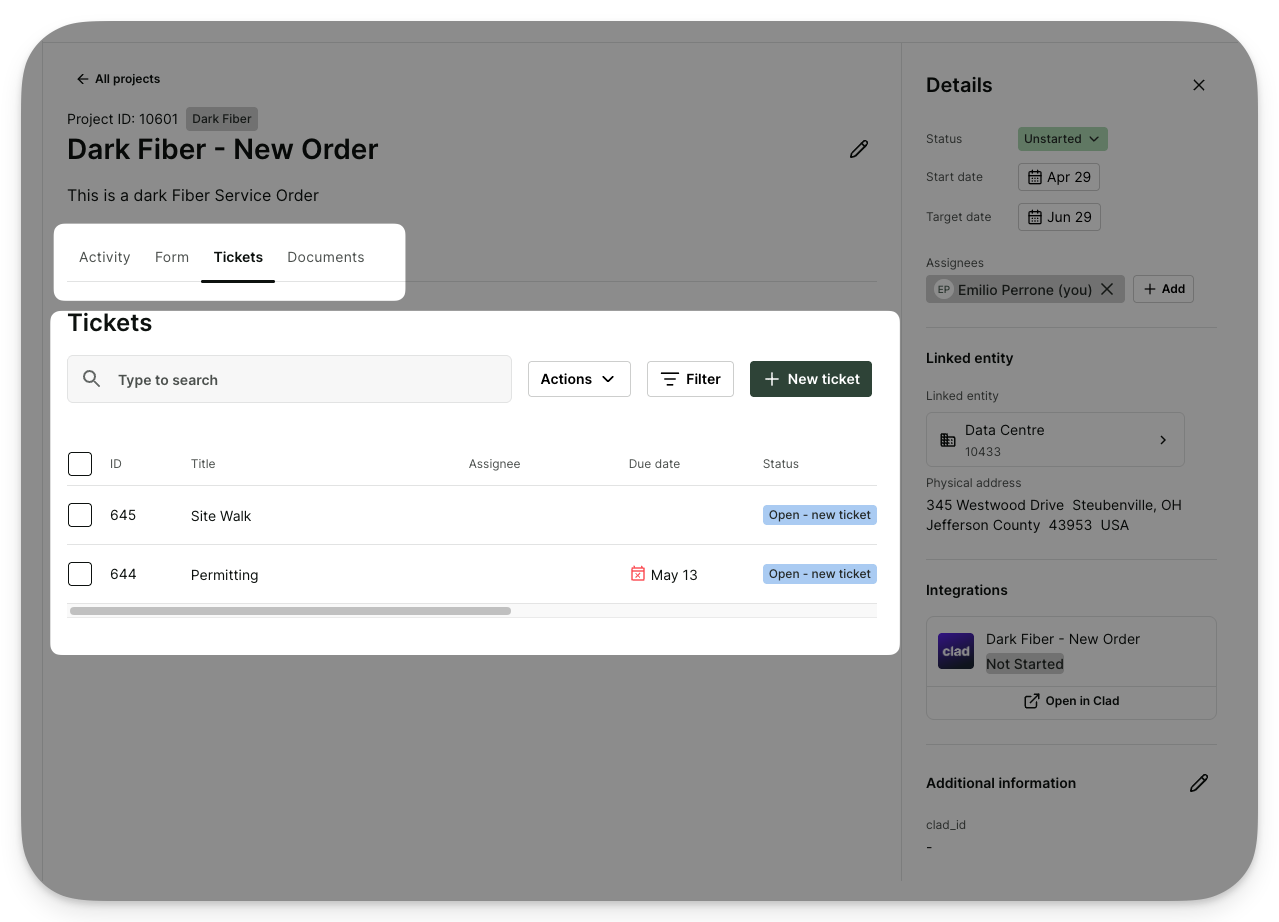
Tickets | Visible to users with the |
Documents | Upload and view files attached to the project. Supported file types include PDFs, CSVs, Excel files, Word documents, images (PNG, JPG), MP3s, and MP4s. |
Following a project's steps
When a project's type groups its tickets into steps, the side panel shows a steps card under Assignees, with the completed steps, the current step and the next one. Click View all to see every step, and click a step to see its tickets. Tickets of a step that hasn't opened yet show their due date relative to the day the step opens.
When every ticket of the current step is closed, the step is completed, the next step opens and its tickets are created.
While the project's status is in the "Closed" category, its steps don't move forward. They pick up again when the project is reopened.
Reopening a ticket of a completed step doesn't move the project back to that step.
Workflows can react to each step with the project.step_opened and project.step_completed events. See Using project event triggers.
Viewing projects on an entity
Projects can be linked to and viewed from Accounts, Business Accounts, Properties, and Network Sites. Each of these entities includes a Projects tab on its detail page. From this tab you can view all linked projects, open a project, or create a new project that is automatically linked to that entity.